How to Report an Issue from Inside the App


Audience: people using a support portal, plus IT teams that manage network allowlists
Time to report: about one minute
What you get: a support ticket details, screenshots, and enough context for the team to investigate
When something breaks in the product, you should not have to leave the screen, write a long email, and guess where to submit. The Report issue widget lives in the app. It opens a modal, captures the issue details, and creates a ticket for your app.
This post walks through the full flow: how to open the modal, what to fill in, what happens after you submit, and which URLs IT may need to whitelist if corporate filtering blocks the report.
What the widget looks like
Look for a help / Report issue control, usually pinned to a corner of the window (often bottom-right). Hover it to open a small menu:
- Report issue — opens the ticket modal

If the button is hidden, you can still open the form with the keyboard shortcut:
| Platform | Shortcut |
|---|---|
| Windows / Linux | Ctrl+Shift+G |
| macOS | ⌘+Shift+G |
The reporting flow
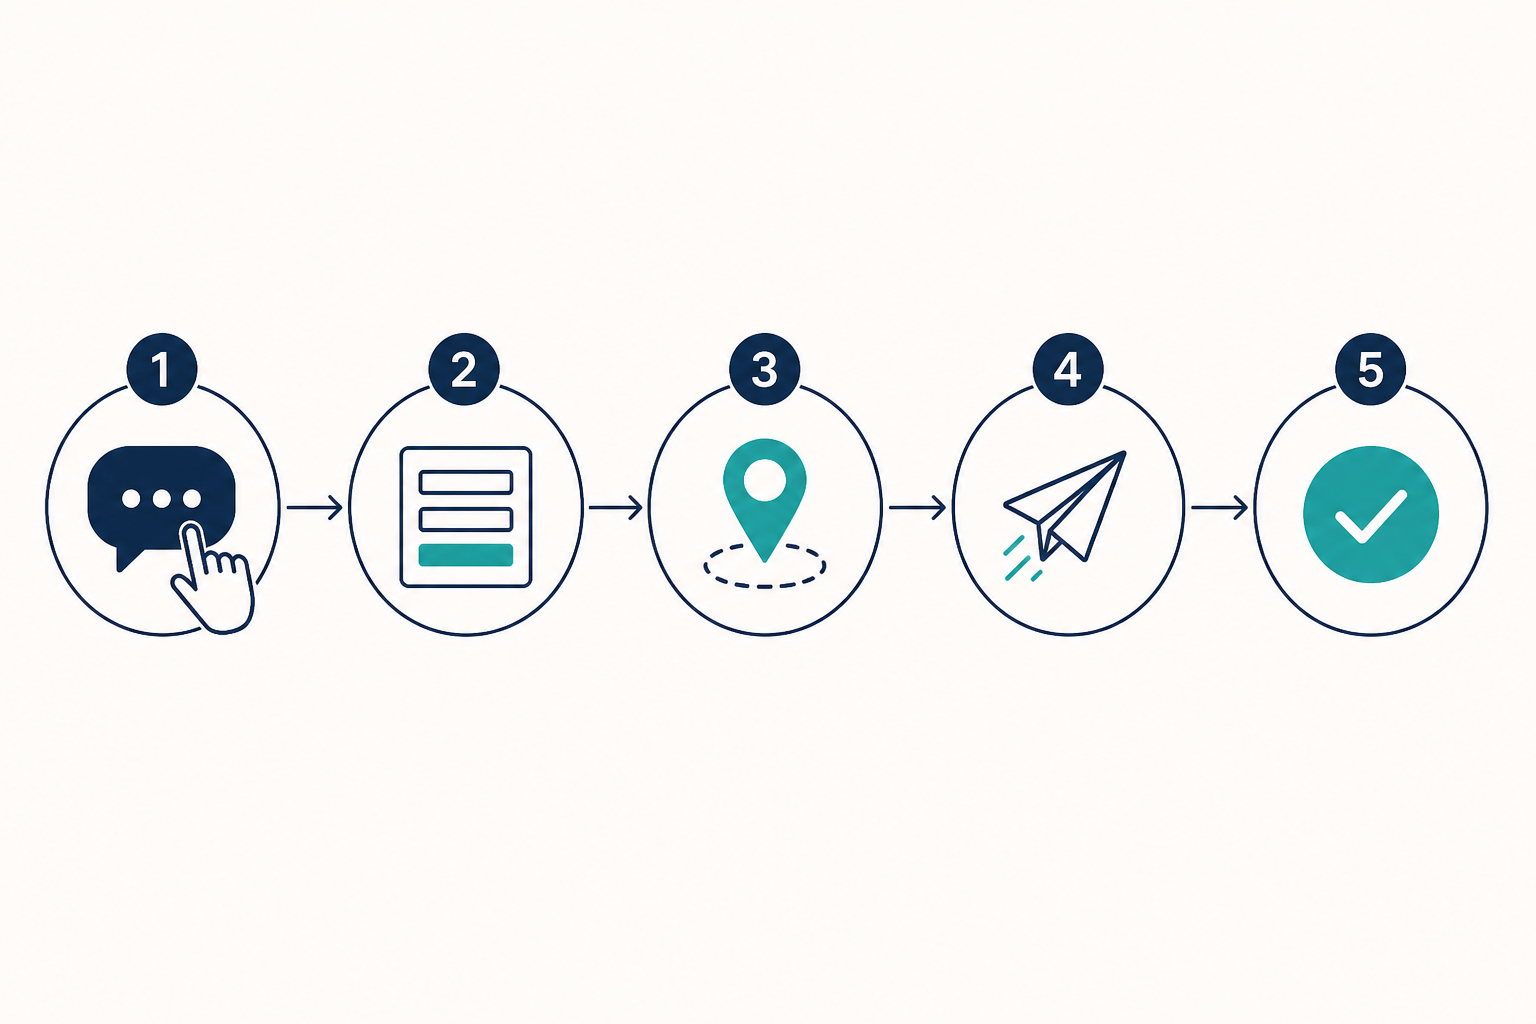
flowchart TD
  A[Open Report issue] --> B[Fill the form]
  B --> C{Location sharing enabled?}
  C -->|Yes, permission needed| D[Allow or skip location]
  C -->|Already allowed or off| E[Submit ticket]
  D --> E
  E --> F{Request succeeded?}
  F -->|Yes| G[Success message then modal closes]
  F -->|No| H[Keep modal open and retry]
1. Open the modal
Click Report issue, or use Ctrl/⌘+Shift+G. A form appears over the current page. The page behind it is not lost.
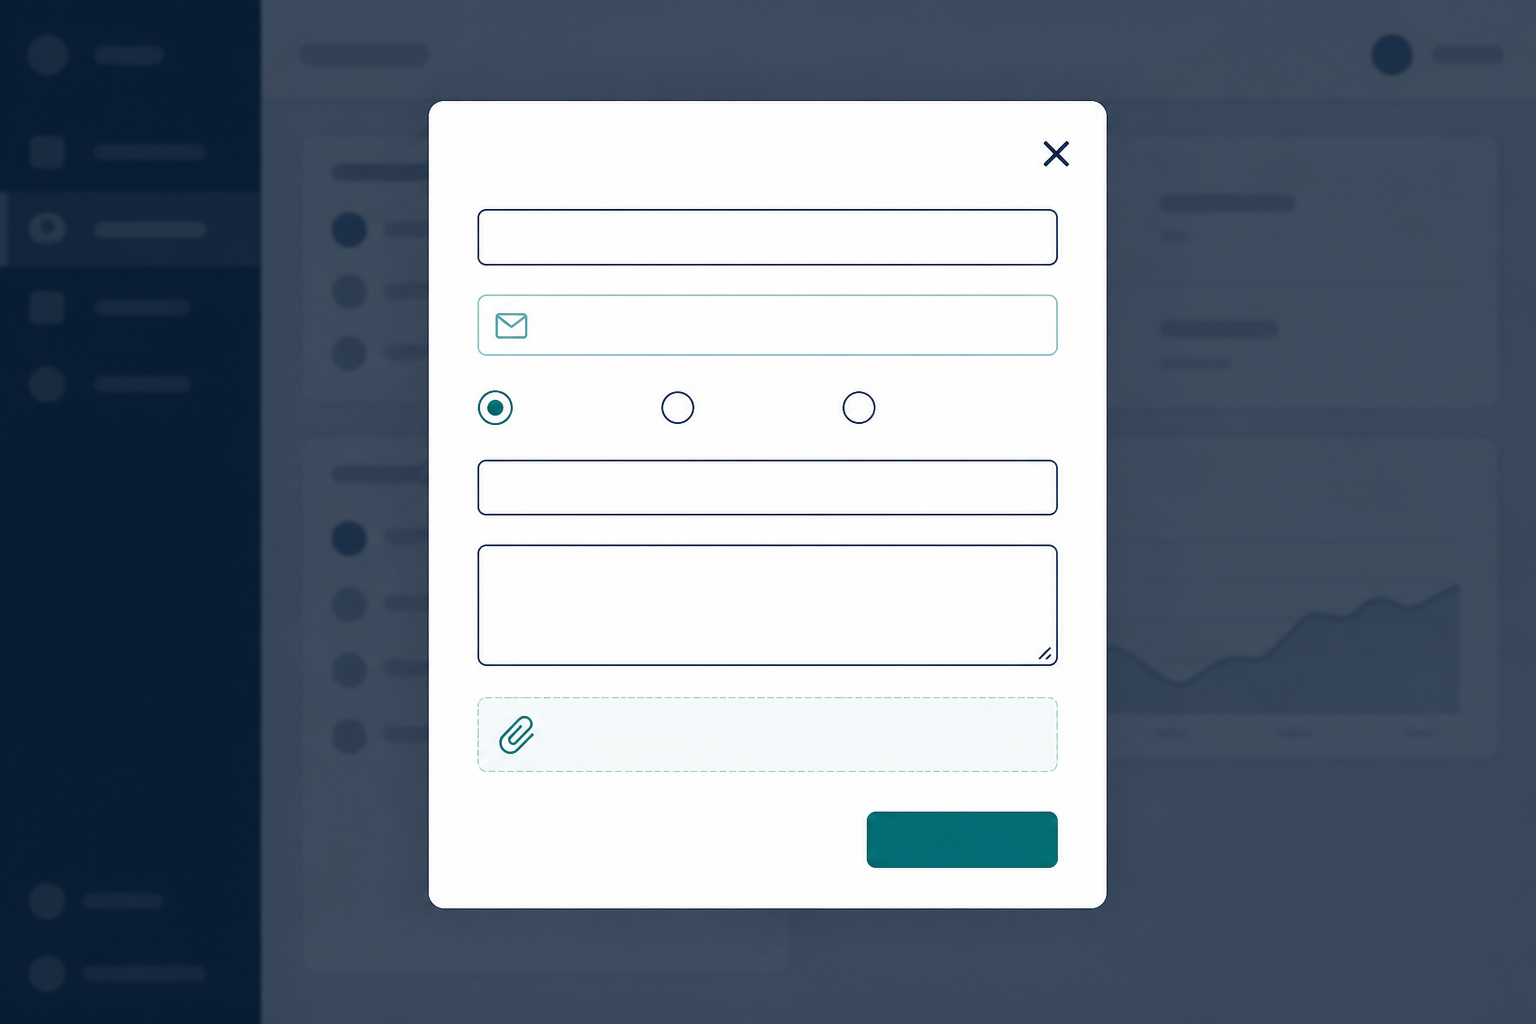
2. Fill in what went wrong
| Field | Required | Tips |
|---|---|---|
| Name | No | Helps the team greet you correctly |
| Yes | Use a mailbox you check. Placeholder style: youremail@example.com |
|
| Severity | Yes (defaults to Medium) | Low = nuisance, Medium = work is harder, High = blocked |
| Subject | Yes | One line, like “Checkout button does nothing” |
| Description | Yes | Steps to reproduce, what you expected, what you saw |
| Images | No | Up to 3 images, 2 MB each |
3. Location (optional)
If the product asks Allow location capture?:
- Allow — shares browser location when the OS/browser permits it
- Not now — still submits
Skipping location does not cancel the ticket.
4. Submit
Click Submit ticket. While it runs you will see Submitting…
- Success: you see Ticket submitted successfully. The modal then closes on its own.
- Failure: the modal stays open with: There is issue while submitting the ticket. Please submit again. Fix the network (or ask IT) and submit again. Your form fields are kept.
Cancel closes the modal without sending.
What happens after you submit
Your ticket is stored for you app's support team and support team will respond accordingly.
Ask IT to whitelist reporting URLs
Locked-down networks often allow only a short list of destinations. If Submit ticket always fails while the rest of the app works, the report request is probably blocked. Share this list with IT and ask them to allow HTTPS (and related) access from user browsers.
Quick troubleshooting
| Symptom | What to try |
|---|---|
| No button | Use Ctrl/⌘+Shift+G, or hover the corner if it is a circle control |
| “Enter a valid email” | Use a full address such as name@company.com |
| “Subject and description are required” | Both fields must have text |
| Image rejected | Use an image file, max 3 files, 2 MB each |
| Generic submit error, modal stays open | Retry; if it keeps failing, IT likely needs to whitelist the reporting URL |
| Success then the dialog disappears | That is expected after a successful send |
Summary
- Open Report issue (button or Ctrl/⌘+Shift+G).
- Add email, subject, description, severity, and optional screenshots.
- Allow or skip location if asked.
- Submit — success closes the modal; errors stay on screen so you can retry.
- If reports never send, ask IT to unblock the support portal ticket URL (and optional IP/STUN endpoints above).