TestLink

What is a Test Link?
TestLink is an open-source test management tool that is used for project management, bug tracking, and test management. It is a web-based tool that allows you to create test projects and document test cases with ease. TestLink supports both manual and automated testing, and it allows you to filter test cases with keywords, versions, or Test case IDs.
Test Link also has a bug-tracking system. Additionally, in TestLink, you can work with bug-tracking software like Mantis to manage your defects efficiently.
How to Register?
To register with the Test link, you must enter your Name, Company, Email address, Postal address, and product password.
Create Users and Assign Roles
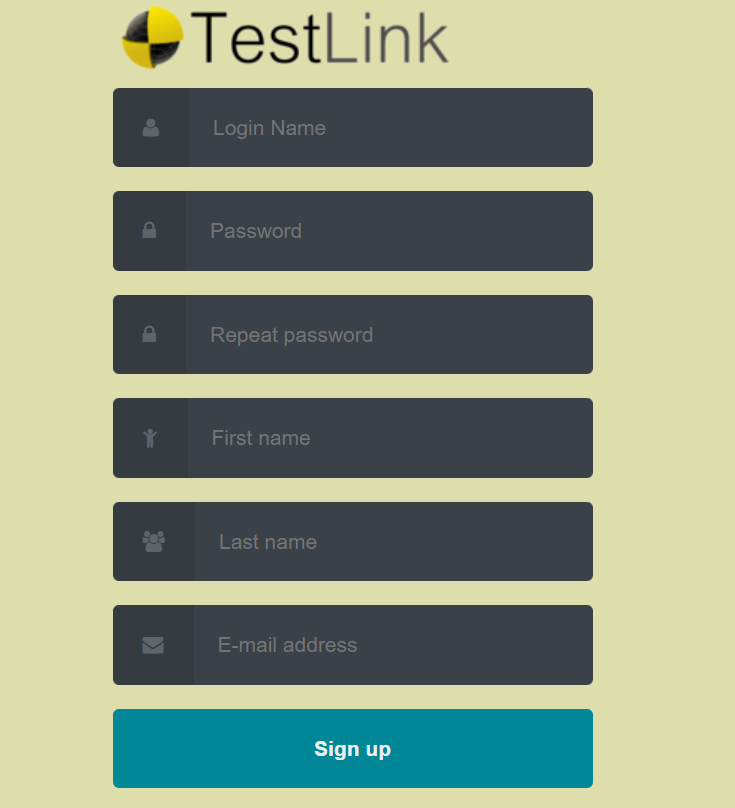
To create a new user, click New User on the Login page. Fill up all the required information, and a new user will be created.
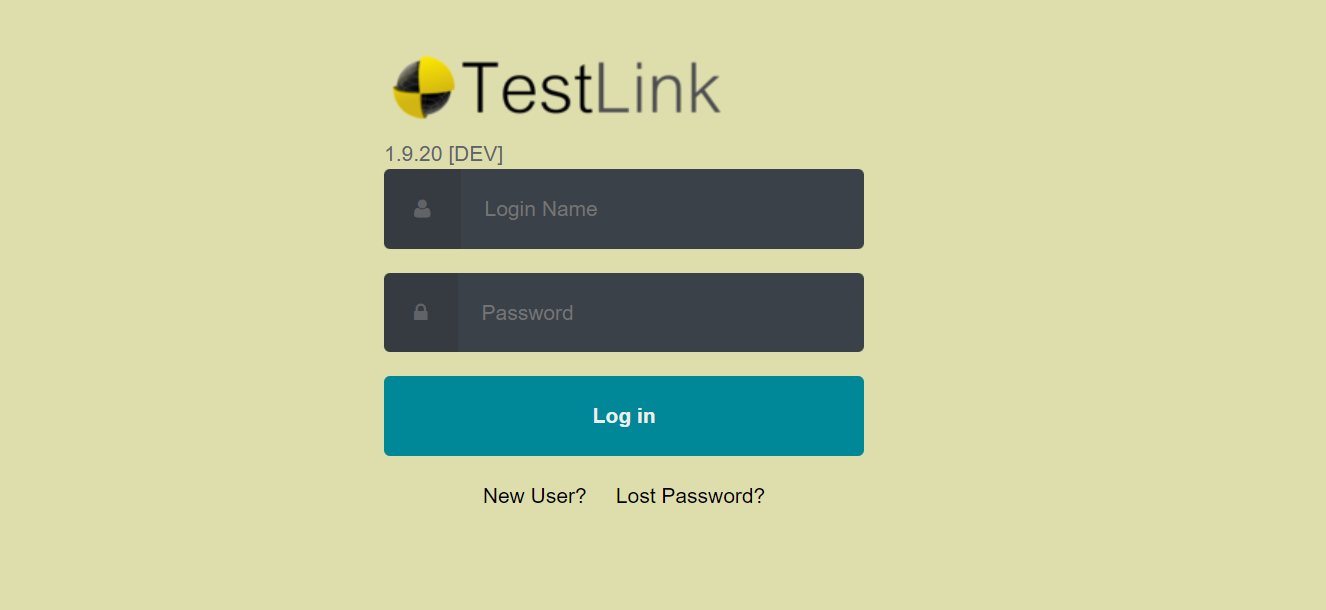
After creating a new user, Login on to the test link page with the help of the newly created User ID and Password.
Once you Login you will see the window below.
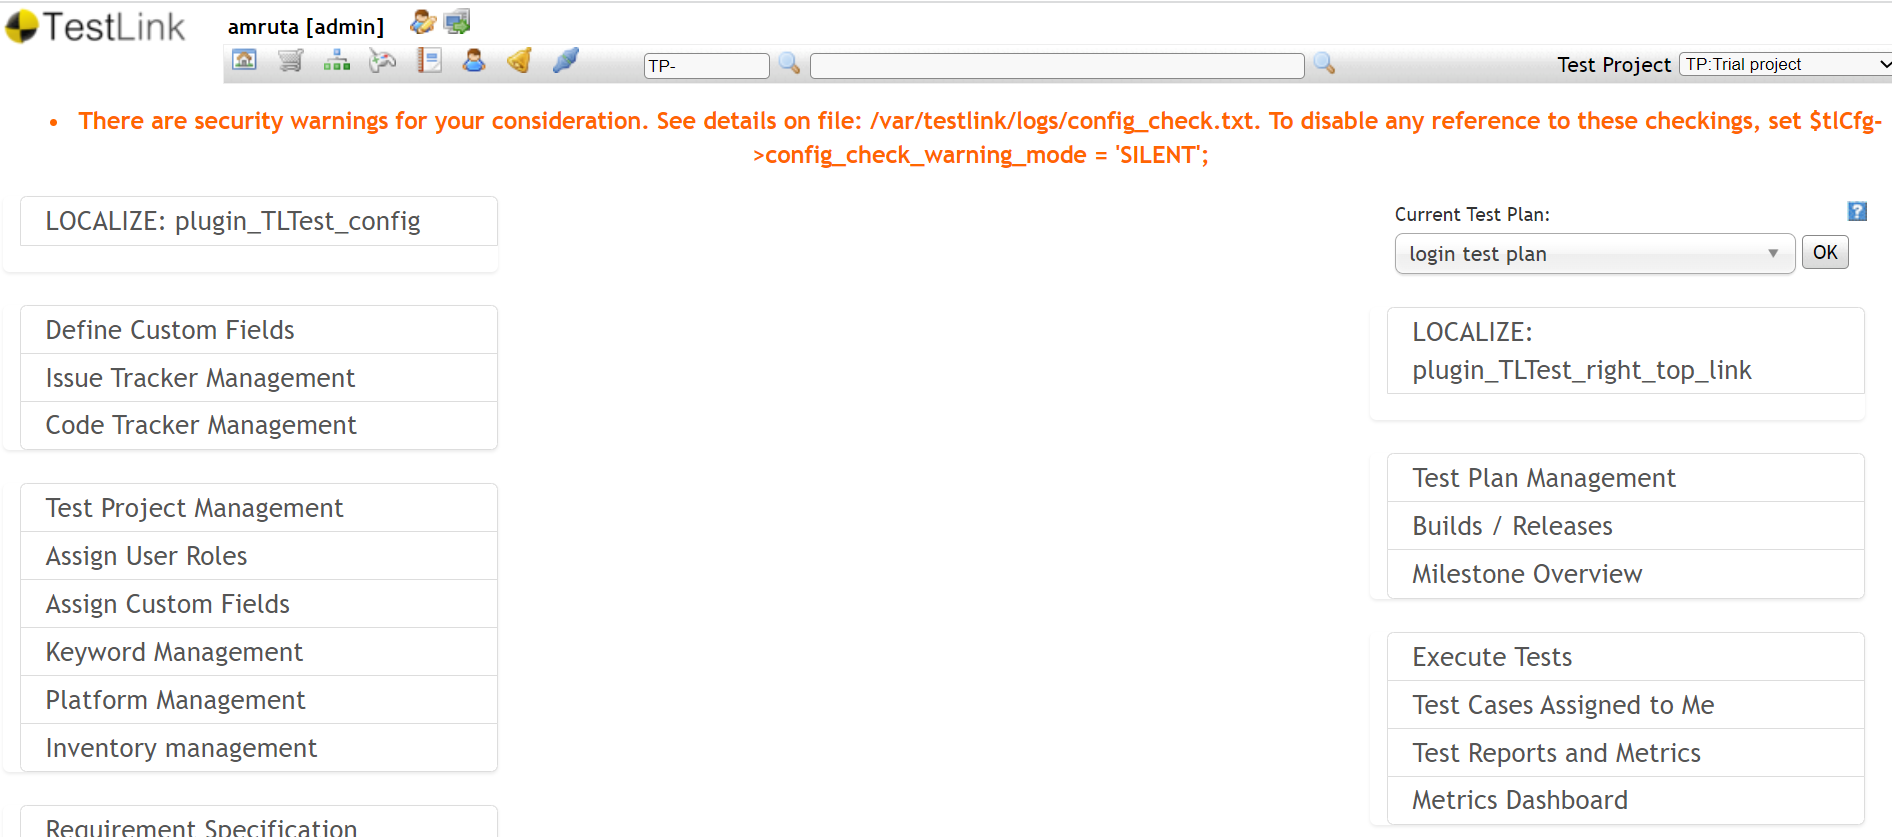
Admin can also create different users and assign roles to all the users. Admin needs to give rights to the user. Otherwise, that user will work as a Guest user. Guest users can view all projects, but guest users cannot add or edit any information. We have different users in Testlink; they are Admin, Manager, Tester, and Guest.
Create a Test Project
To create a new test project, click on Test Project Management on the left side of the home page.
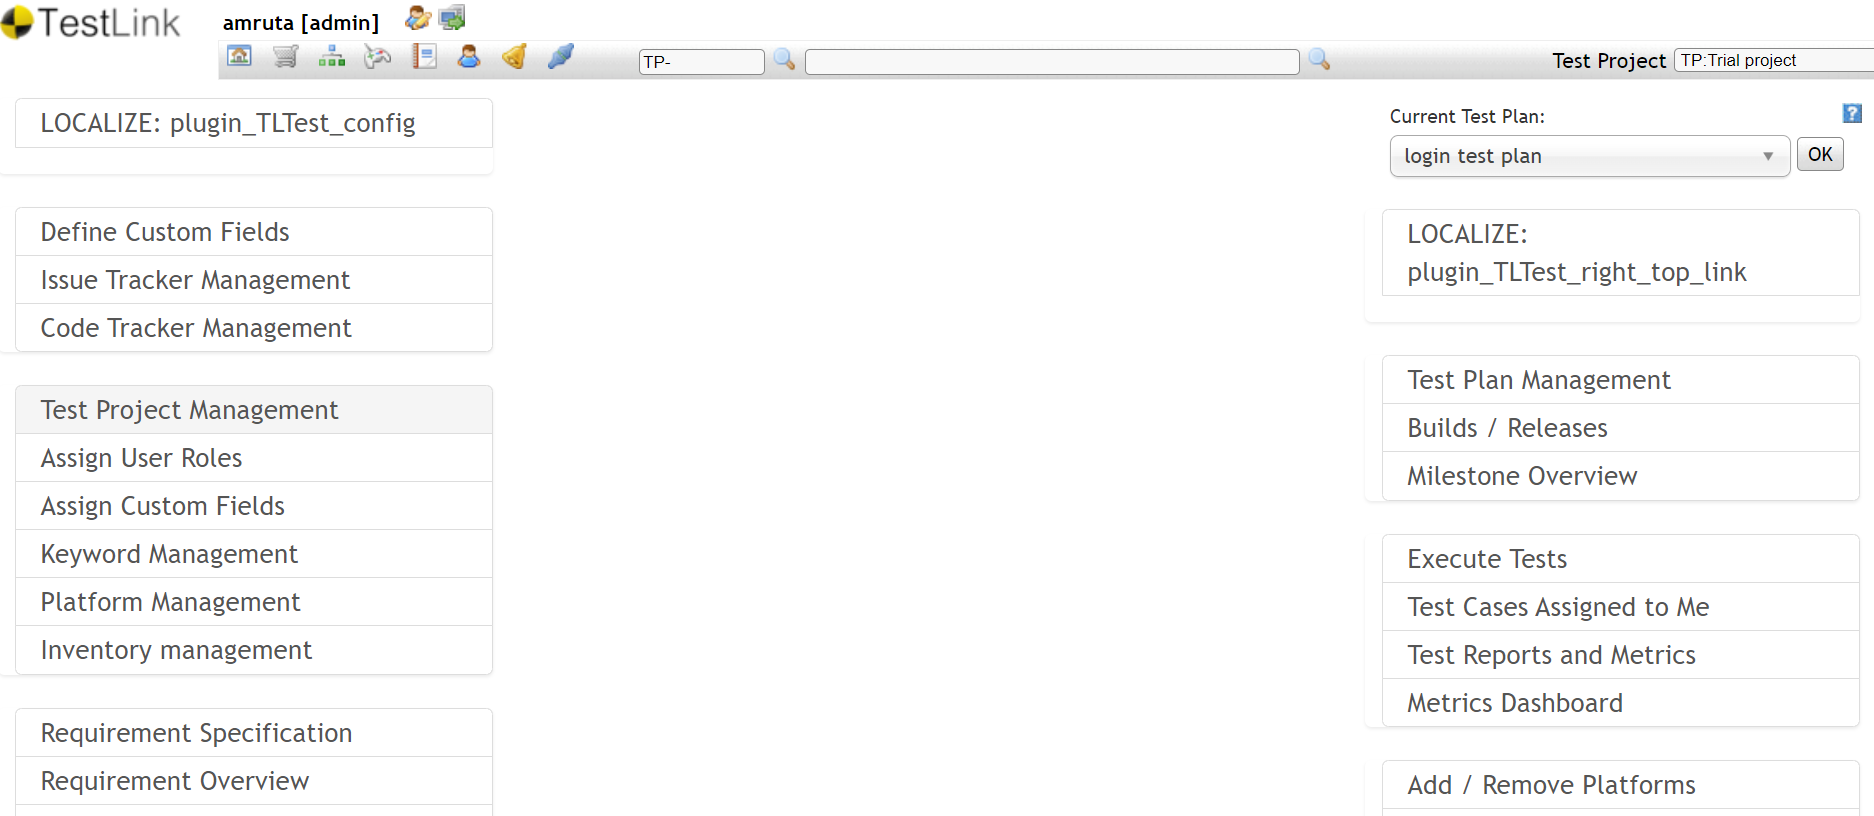
After opening the Test Project Management, the user will see a list of all the previously created test projects.
To create a new project, the user can click on the Create button, and you will see the window below.
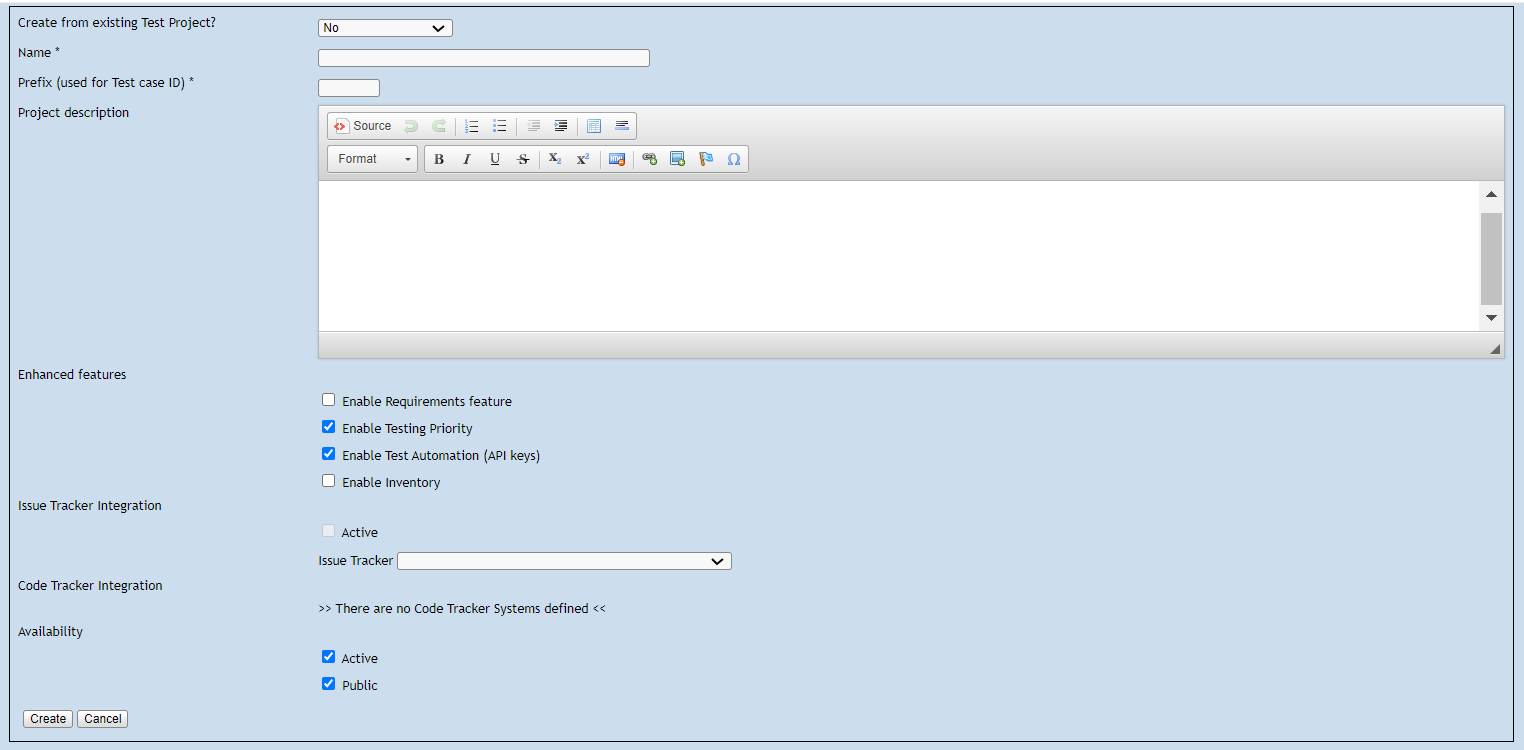
After filling up all the information in the above form, a new project will be created.
Creating a Test Suite
To create a Test Suite, you must first select that specific Test Project. You can select Test Project from the Test Project dropdown.

After selecting a Test project, we need to click on the Test Specification tab. You can find it in the image below.
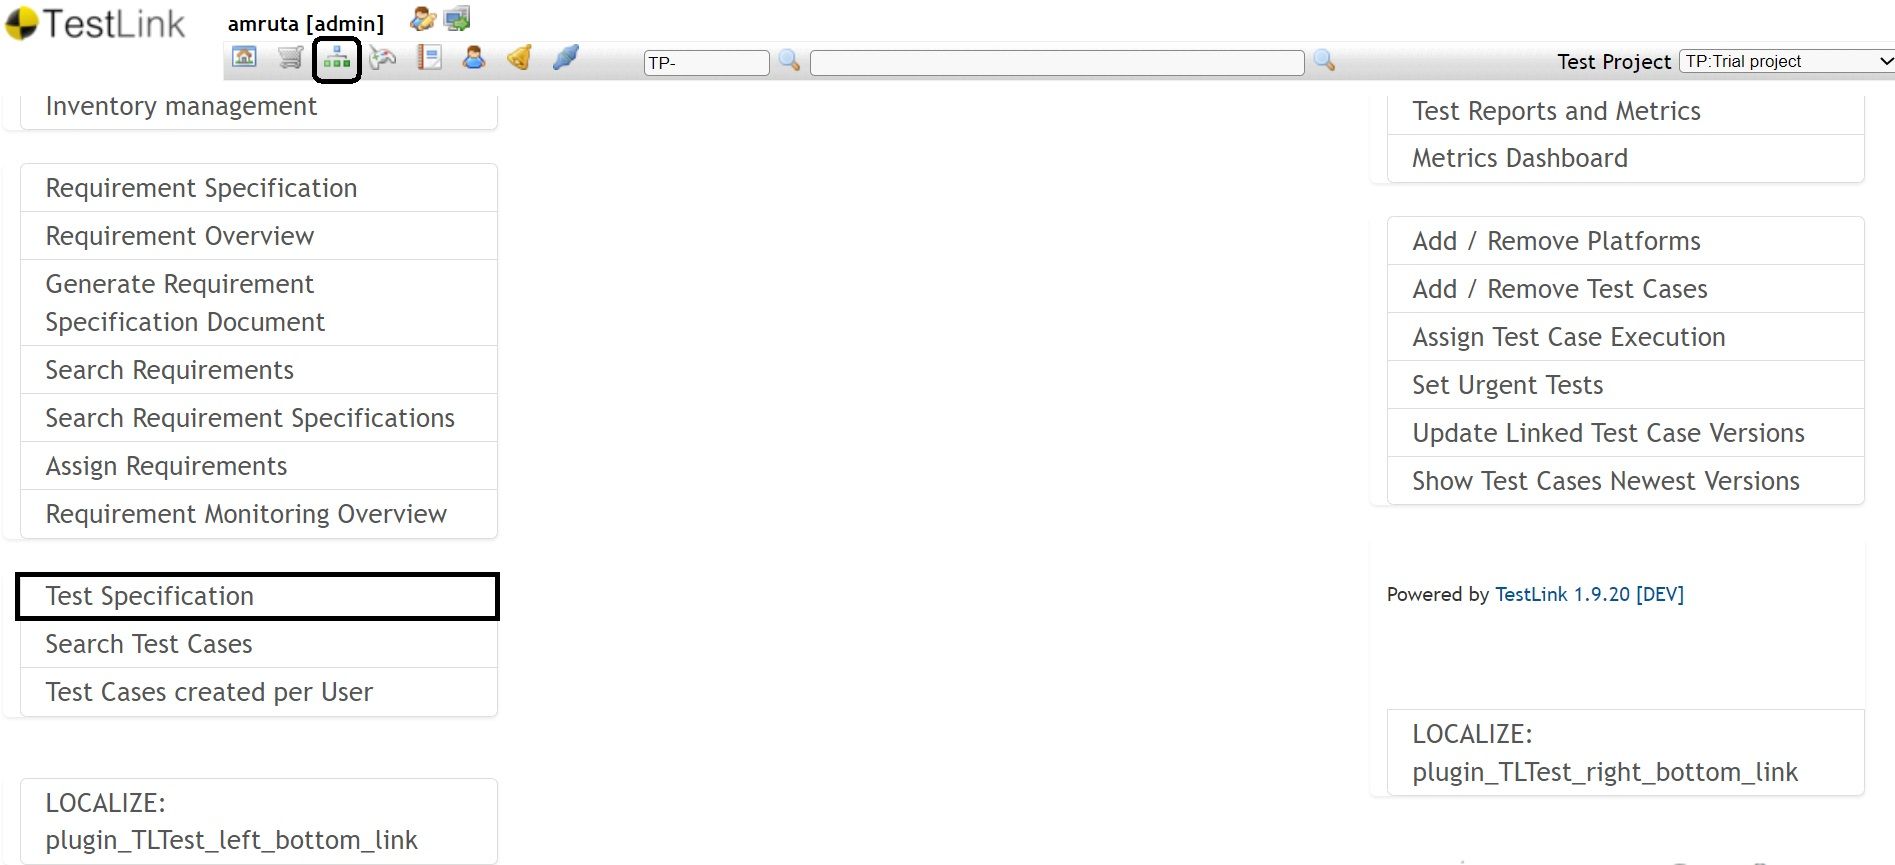
When the User clicks the Test Specification tab, click on the action/setting icon.
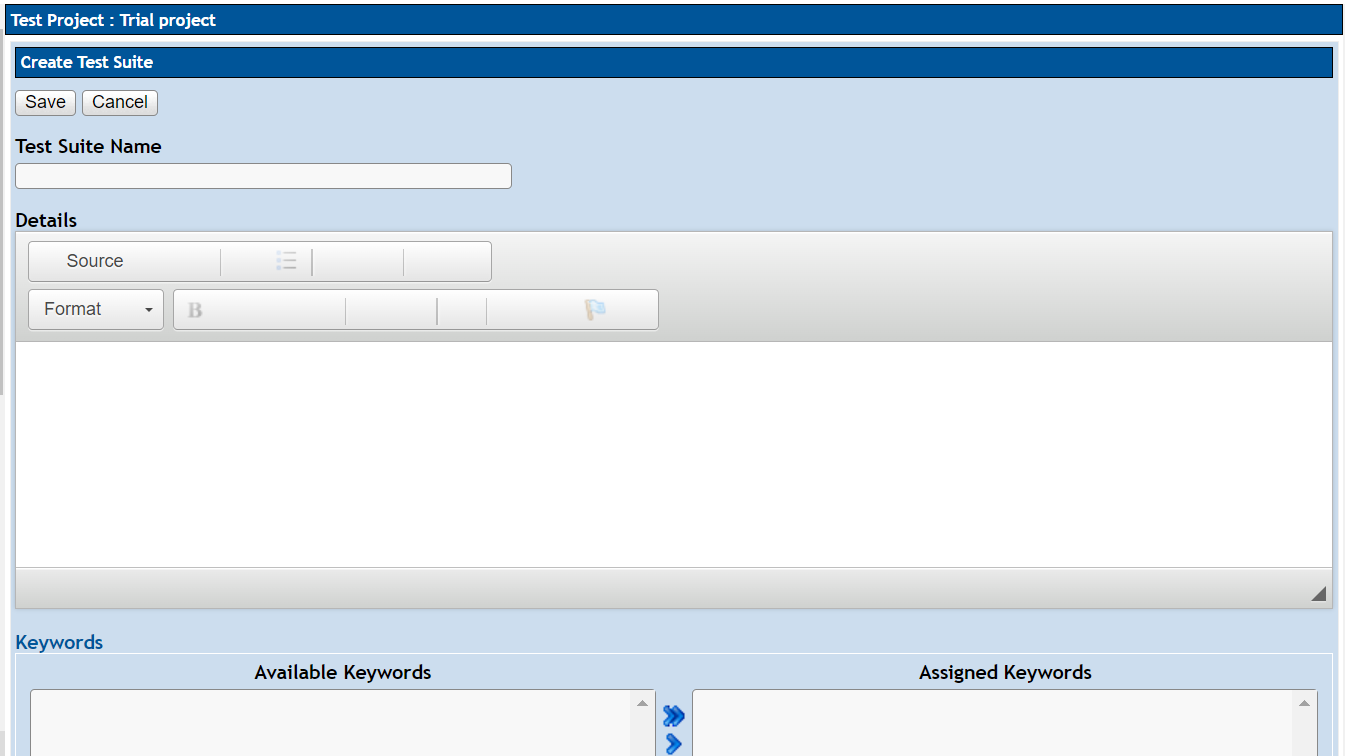
Under the Test Suite Operations, the user can click Create and then create a Test Suite(Folder).

You can add the Test Suit Name and more details about the Test suit, and a New Test suit will be created.
Creating a Test Case
Select the Test Suite where you want to create a Test Case. In the selected Test Suite, select the Create button in Test Case Operations, as shown in the image below.

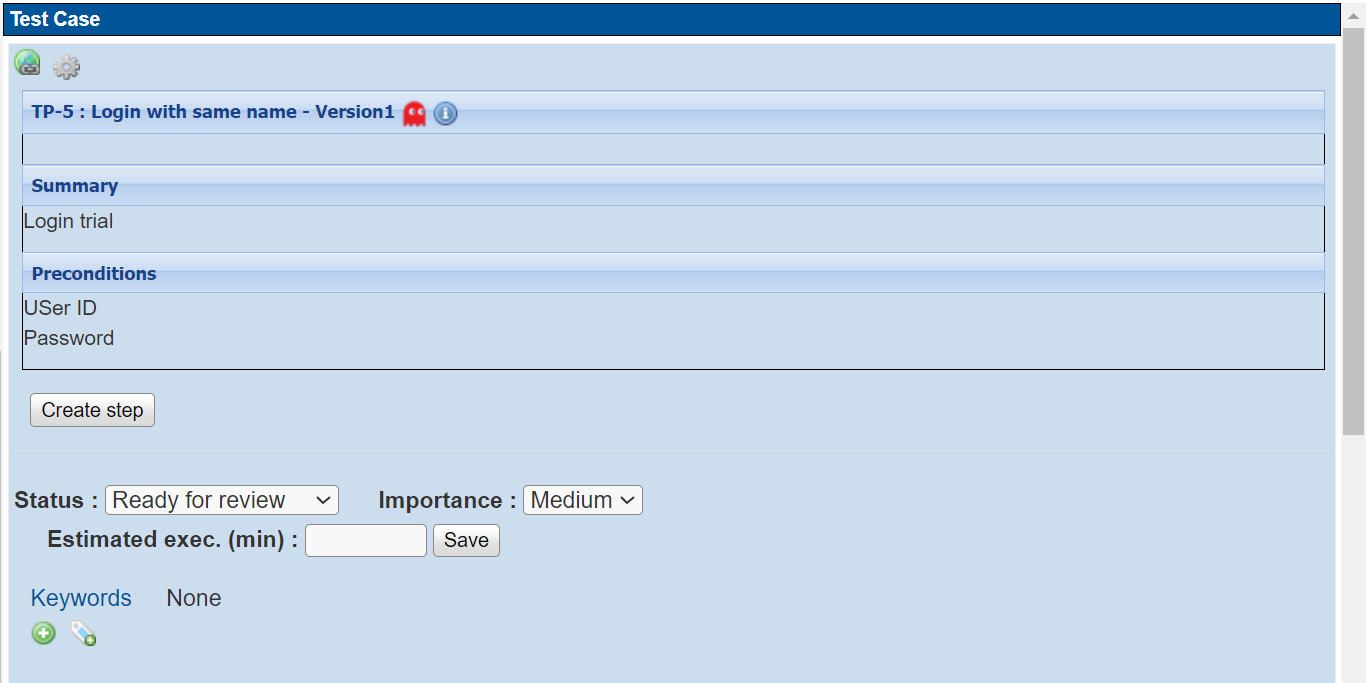
Create a test case by filling up all the information about the test case and clicking the create button. Your test case will show you all the information, which includes the test case title, Summary, and preconditions. You will see the Test Case as shown in the image below.
Adding test steps to the Test Case
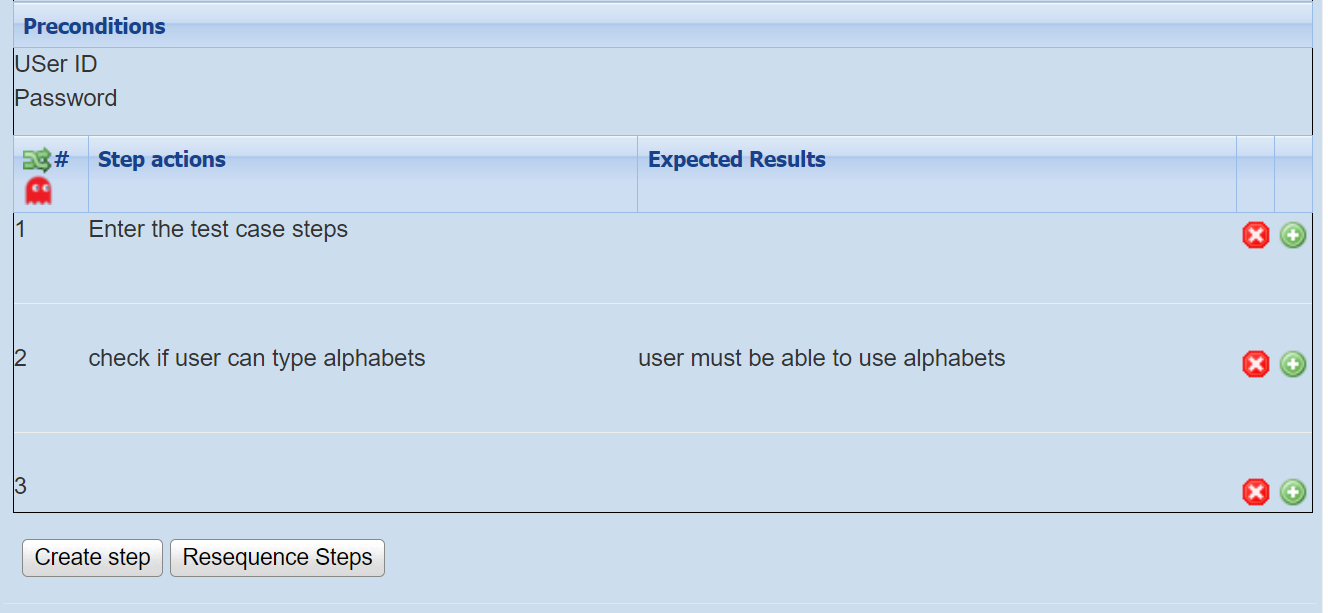
In the created test case, the user can add steps. Click the Create Step button in the test case. Start adding steps as per the sequence of testing, as shown in the image below.
When the step is completed, click on the save button to add more steps or click on the save and exit button to save steps and come out from the test steps.
In the end, the test case created will look like the image below.
