Formatting Kotlin Code With Ktlint

In this post, we’ll introduce you to formatting Kotlin code with ktlint, and specifically focus on adding ktlint to your Kotlin project.
Why use ktlint?
In some cases, ktlint can even reformat your code for you when there is an issue. This allows developers to focus their time and energy on the more interesting problems of at hand.
The benefits of using it
- Ktlint can save your time
- It can save your energy (because you don’t have to manually check your code styling)
- It can simplify your process
Adding ktlint to your Android project
- Adding the ktlint-gradle plugin.
1] Add the ktlint-gradle plugin to your root-level build.gradle file - Apply the plugin to subprojects.
1] Apply the ktlint-gradle plugin to any Gradle modules that you would like to check. - Verify added Gradle tasks.
1] Check that ktlintCheck and ktlintFormat tasks have been added for your various build targets.
Adding the ktlint-gradle plugin
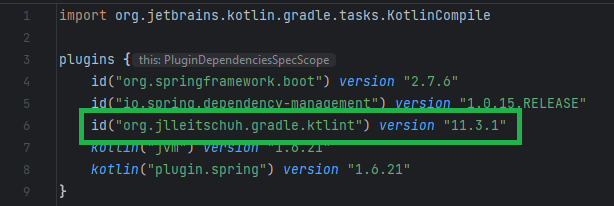
If using a version of Gradle which supports the plugins DSL, you can add ktlint-gradle to your project with the following code:
// root-level build.gradle
plugins {
    id("org.jlleitschuh.gradle.ktlint") version "11.3.1"
}
// ktlint rules

ktlint {
    debug.set(false)
    verbose.set(false)
    outputToConsole.set(true)
    ignoreFailures.set(false)
    enableExperimentalRules.set(false)
    this.disabledRules.set(listOf("no-wildcard-imports"))
}
In this case, the version is "11.3.1" and could be substituted for whatever the current version is.
If you can’t, or prefer not to, use the Gradle plugins DSL you could add the dependency like this:
// root-level build.gradle
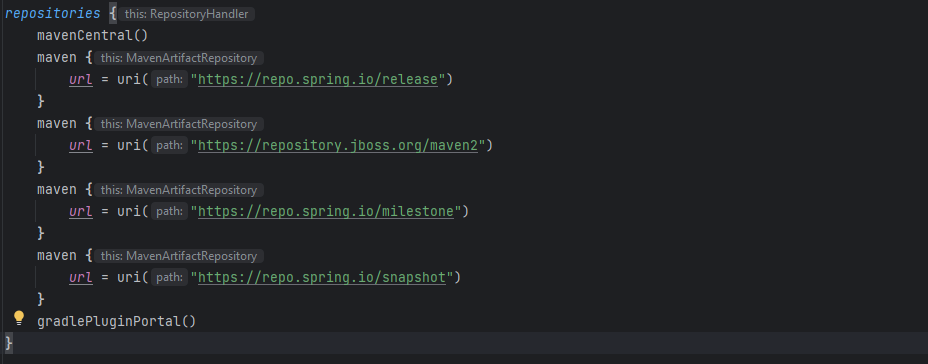
buildscript {
 repositories {
    mavenCentral()
    maven {
        url = uri("https://repository.jboss.org/maven2")
    }
    maven {
        url = uri("https://repo.spring.io/milestone")
    }
    maven {
        url = uri("https://repo.spring.io/snapshot")
    }
    maven {
        url = uri("https://repo.spring.io/release")
    }
    gradlePluginPortal()
}
//dependencies

 implementation("org.jlleitschuh.gradle:ktlint-gradle:11.3.1")

Verify added Gradle tasks
Finally, you’ll want to verfiy that the ktlint Gradle tasks are now available for use. You can do this in three ways
- run ./gradlew tasks from the command line and look for any ktlint tasks
- try to run ./gradlew ktlintCheck from the command line
- use the Gradle tool window in IntelliJ or Android Studio to see if the tasks are listed
- Checking Kotlin code formatting with ktlint
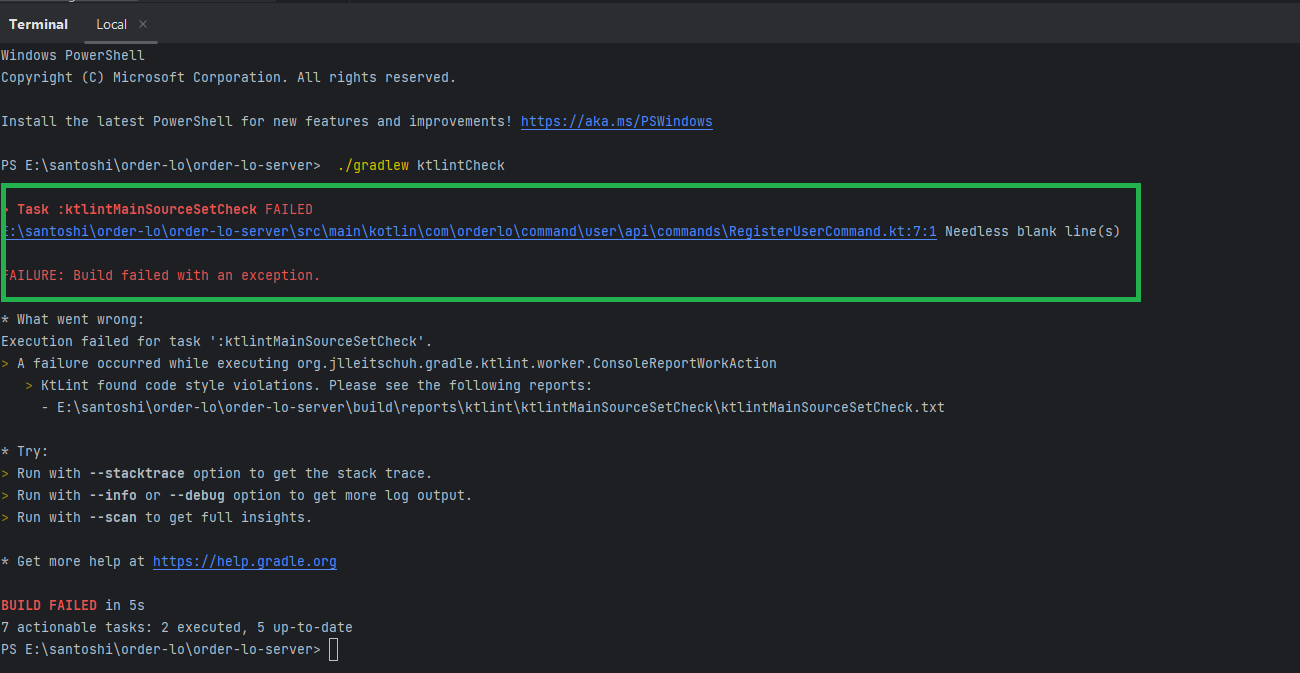
To actually check your code’s formatting, run the following command from the command line:
./gradlew ktlintCheck
Reformatting Kotlin code with ktlint
To automatically fix any errors which are reported by ktlintCheck, you can run the following command from the command line:
./gradlew ktlintFormat
This will attempt to auto-fix any errors, and will report back any issues that could not automatically be fixed.
Everything is formatted correctly.
We also used different rules in ktlint:
Adding standard rules to your Android project:
- Add .editorconfig file in your project.

- Add what you want to add rule.
//For Examaple

[*.kt]
ij_kotlin_allow_trailing_comma_on_call_site = true
ij_kotlin_allow_trailing_comma = true
Reference: "https://pinterest.github.io/ktlint/0.49.0/rules/configuration-ktlint/"


