Firebase Push Notifications Setup in React Native (Android specific)

Firebase Cloud Messaging (FCM) is a service that allows you to send notifications and messages to users across platforms like iOS, Android, and the web.This guide will walk you through how to set up Firebase Push Notifications in a React Native app for Android.
Prerequisites
- A React Native project setup (if you don't have one, you can create it by running
npx react-native init MyProject). - Node.js installed on your machine.
- Firebase account and Firebase project setup in the Firebase Console.
Step 1: Create a Firebase Project:
- Go to Firebase Console.
- Click on Add Project and follow the steps to create a new project.
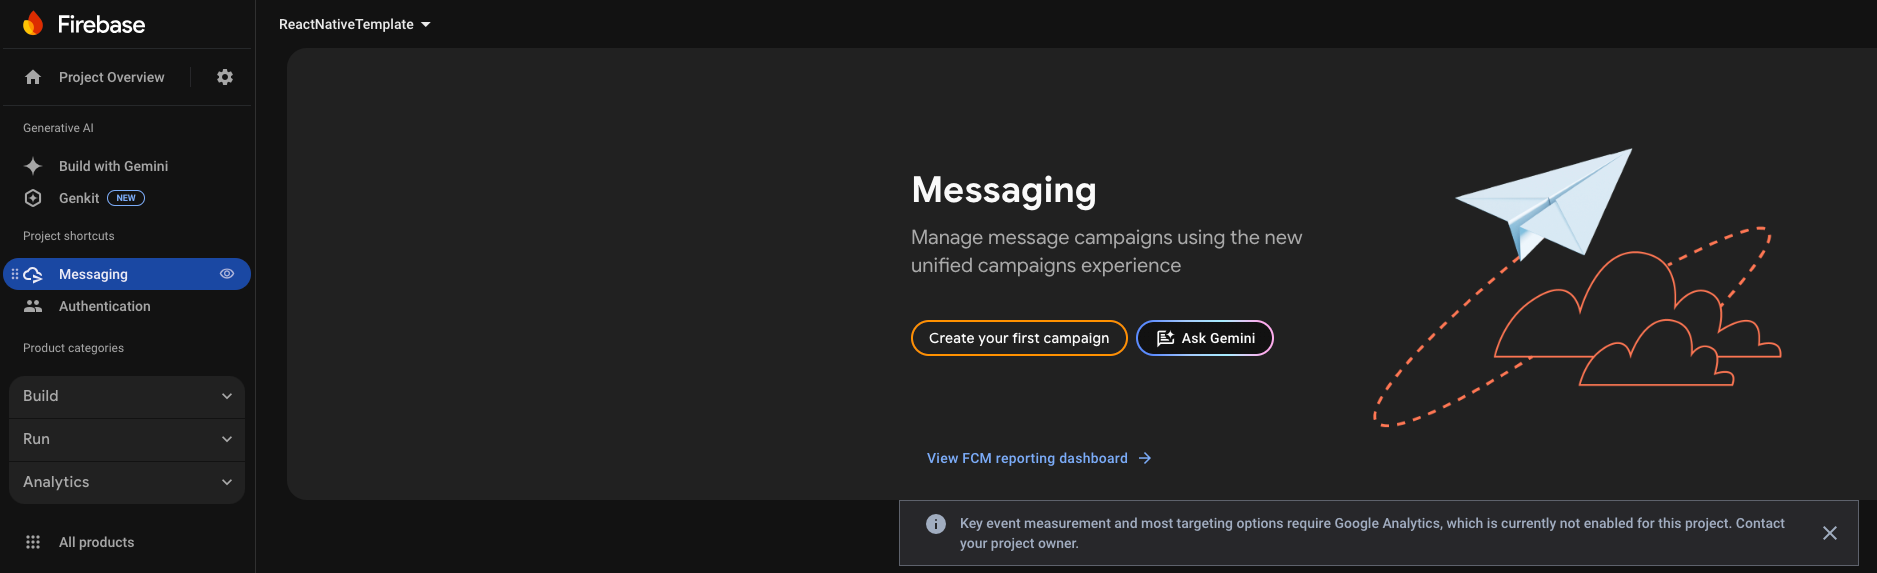
- Go to your Firebase Console and select your project.
- In the left-hand sidebar, navigate to Project settings (gear icon at the top).
- In the Project Settings, under the General tab, you'll see the Your apps section.
- There should be an option to Download google-services.json right next to your Android app listing. Just click that, and it’ll download the file for you.
- Once downloaded, move the
google-services.jsonfile into the app folder of your Android project (usually located atapp/in your project structure).
MyProject/
  ├── android/
  │    ├── app/
  │    │    ├── google-services.json  <-- place it here
  │    │    ├── src/
  │    │    └── ...
  ├── ios/
  ├── lib/
  └── ...
Step 2: Install Required Dependencies:
To use Firebase Cloud Messaging in your React Native app, install these packages via ``npm``npm install @react-native-firebase/app @react-native-firebase/messaging @notifee/react-native
- @react-native-firebase/app: This is the core library that connects your React Native app with Firebase.
- @react-native-firebase/messaging: This library allows you to interact with Firebase Cloud Messaging (FCM) for push notifications.
- @notifee/react-native: Notifee enables developers to rapidly build rich notifications with a simple API interface, whilst taking care of complex problems such as scheduling, background tasks, device API compatibility & more.
Step 3: Set Up and Configure Each Library According to Official Documentation:
a. Setup @react-native-firebase/app (Firebase Core SDK):
`npm install @react-native-firebase/app`
- Modify
android/build.gradle
buildscript {
  dependencies {
    // ... other dependencies
    // NOTE: if you are on react-native 0.71 or below, you must not update
    //       the google-services plugin past version 4.3.15 as it requires gradle >= 7.3.0
    classpath 'com.google.gms:google-services:4.4.2'
    // Add me --- /\
  }
}- Modify
android/app/build.gradle
apply plugin: 'com.android.application'
apply plugin: 'com.google.gms.google-services' // <- Add this line- rebuilding
# Android apps
npx react-native run-android
Document file to learn more about this library.
b. Setup @react-native-firebase/messaging:
You can refer to the official documentation for setting up messaging.
c. Setup @notifee/react-native:
Document file to learn more about this library.
Step 4: Get FCM Device Token:
Import the Firebase Messaging Library: You need to import @react-native-firebase/messaging to retrieve the FCM token.
import messaging from '@react-native-firebase/messaging';

async function getDeviceToken() {
  try {
    // Get the FCM token
    const token = await messaging().getToken();
    console.log('FCM Device Token:', token);
    return token;
  } catch (error) {
    console.error('Error fetching FCM token:', error);
  }
}

// Call the function to retrieve the token
getDeviceToken();
Step 5: Save the FCM Token to Firestore or Your Backend:
To send the FCM token to your backend server, follow these steps:
- Set up the backend server (using Node.js or any other backend of your choice).
- Send the token from the React Native app to your backend, which will save the token in your database.
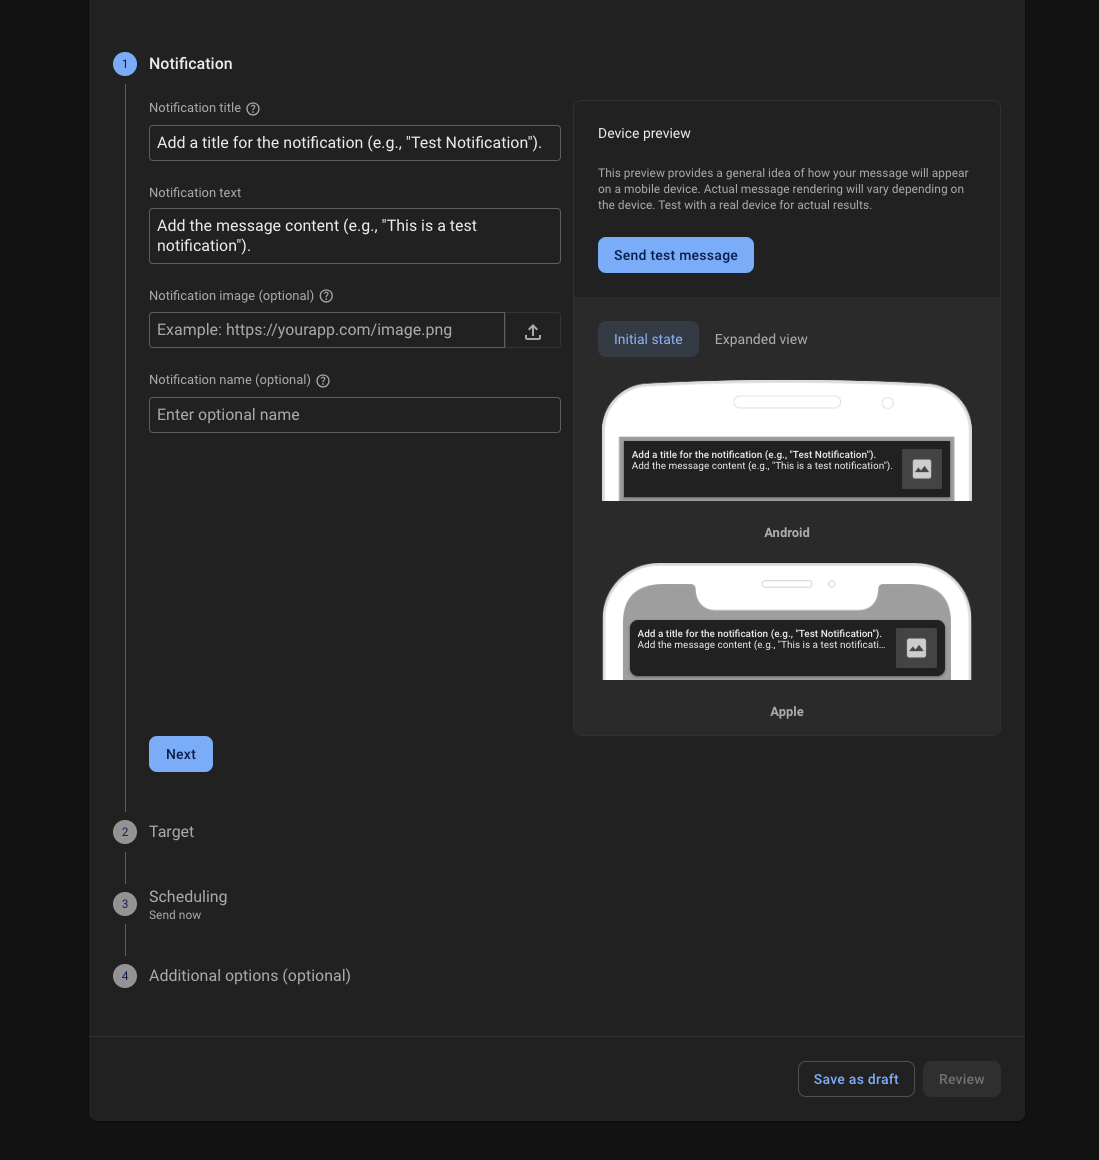
Step 6: Send a Test Push Notification from Firebase Console:
- Go to Firebase Console:
- Navigate to the Firebase Console.
- Select your project.
- Open the Cloud Messaging Section:
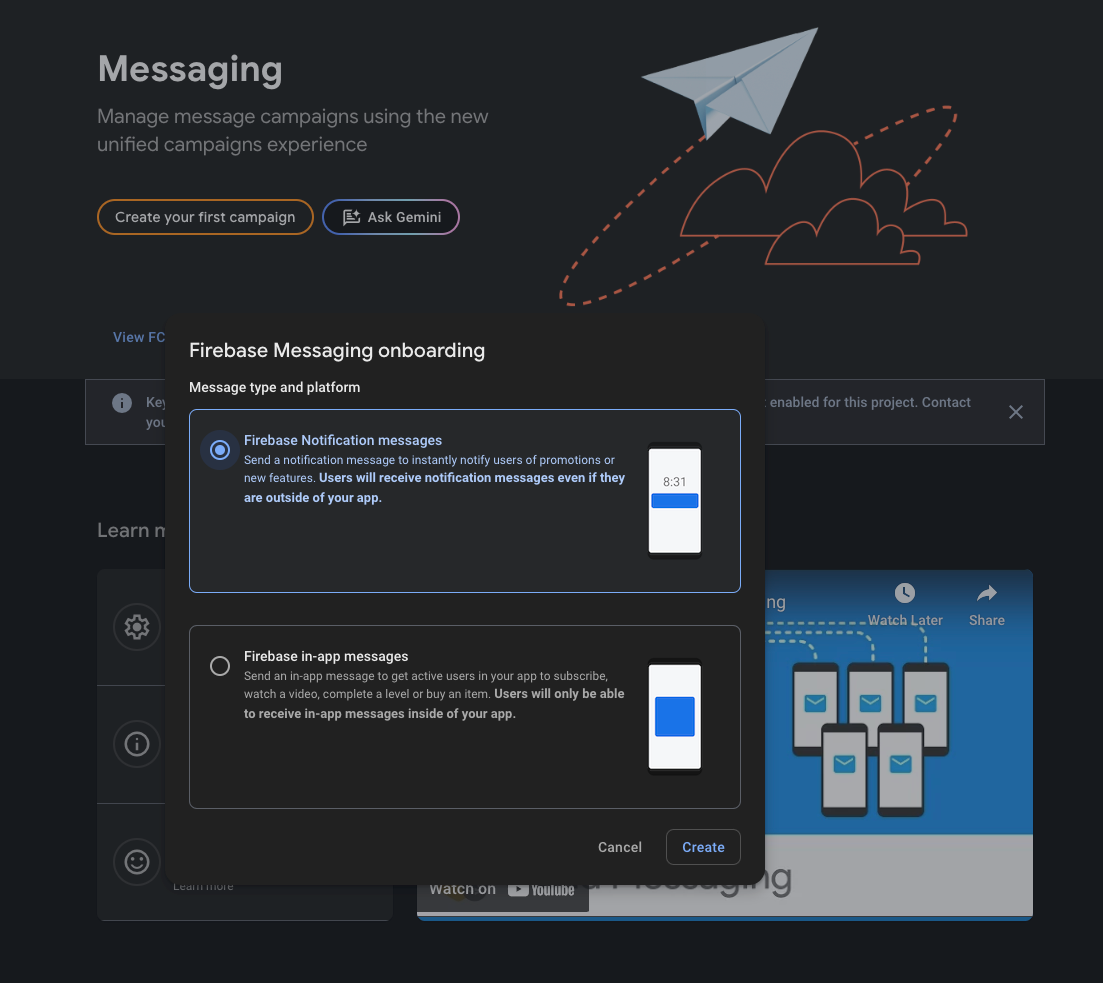
- Compose the Message:
- Target the Notification:
- Under Target, select Single Device.
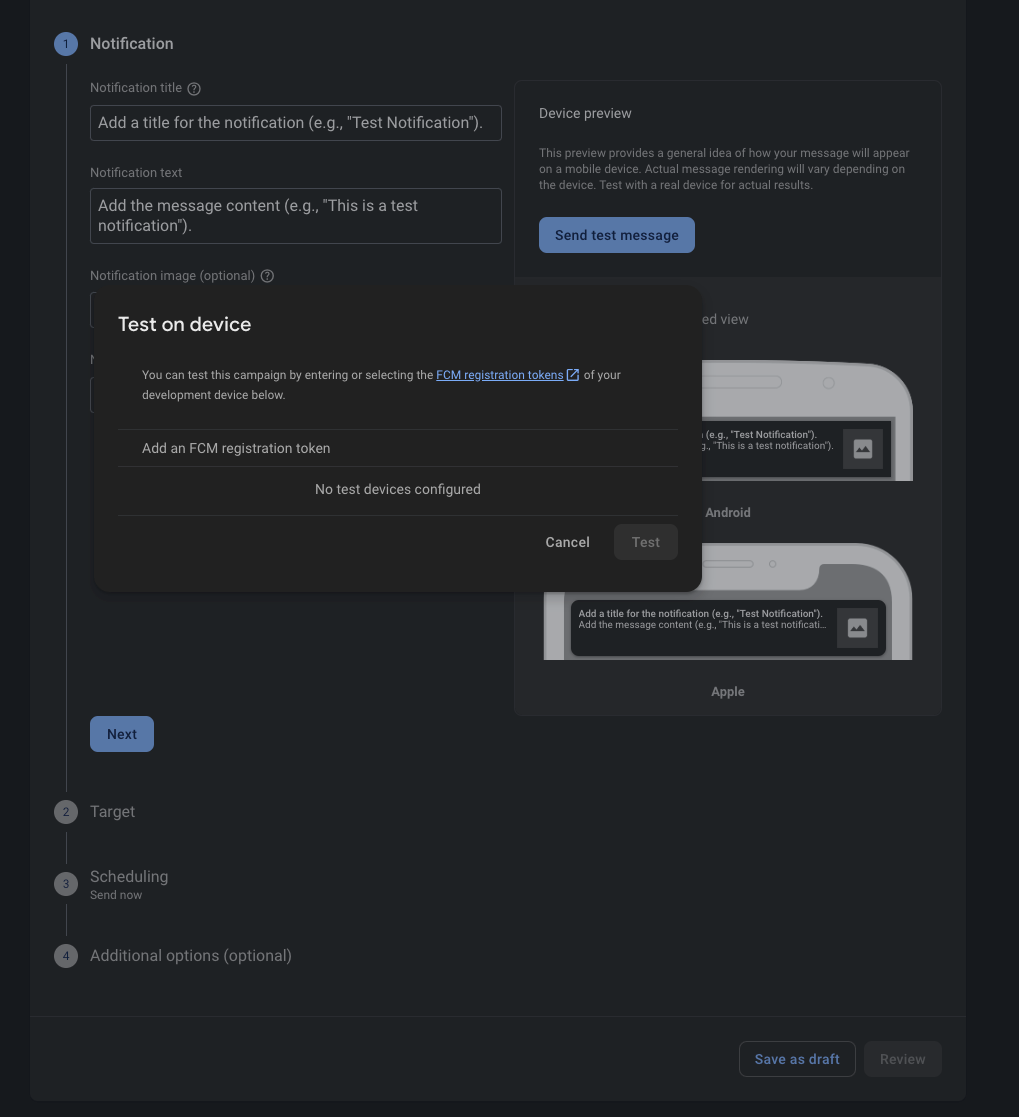
- Enter the FCM Token: In the "Token" field, paste the device token that you retrieved in the previous step.
- If you’ve saved the token in Firestore, retrieve it from there, or use the token logged in the console.
- If you’ve saved the token in Firestore, retrieve it from there, or use the token logged in the console.
- Send the Notification:
- After filling in the details, click on Send Test Message.
- You should see a confirmation message stating that the notification was sent successfully.
Conclusion
Setting up Firebase Push Notifications in a React Native app for Android is a straightforward process if you follow the steps carefully. By integrating the required libraries, configuring Firebase, and obtaining the FCM device token, you can enable seamless push notifications for your users.